These drawings are conceptual—not to scale. Confirm dimensions, product compatibility, wall substrate, fasteners and manufacturer instructions before starting.
← Back to Project PlansShowing all project sheets
No matching project sheets. Try a shorter search or choose “All project types.”
Windows · Beginner
Install a Curtain Rod
Measure, level and mount brackets.
Materials
- Curtain rod kit with brackets
- Correct screws and anchors for wall/load
Tools
- Tape measure and level
- Pencil and stud finder
- Drill/driver and suitable ladder
How to
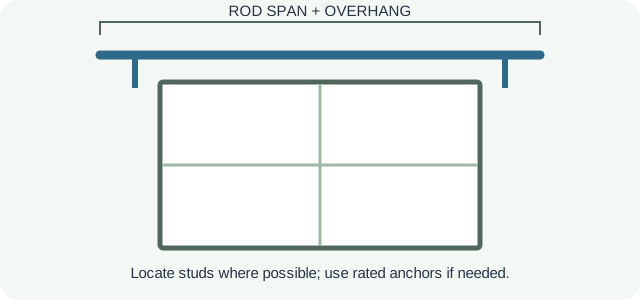
- Measure the opening and choose overhang per rod instructions.
- Mark bracket points level and check trim/obstructions.
- Locate studs where possible; otherwise use anchors rated for the wall and load.
- Drill correct pilot holes and fasten brackets.
- Install rod and curtains; confirm level and support.
Safety: Consider concealed wiring/plumbing before drilling. Long spans or heavy curtains may need a center bracket. Use a stable ladder, never furniture.
Doors · Beginner
Replace an Interior Door Knob
Match latch backset and keep the door operable.
Materials
- Compatible knob or lever set
- Manufacturer-supplied latch and screws
Tools
- Screwdriver set
- Tape measure
How to
- Check door thickness, latch backset, function and handing.
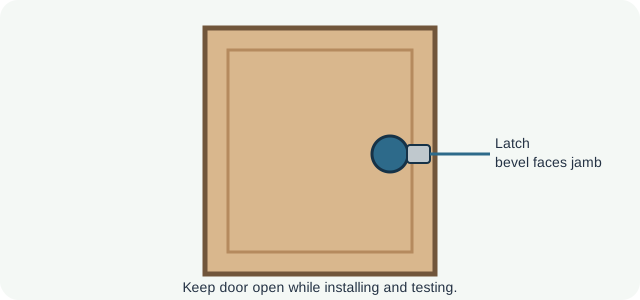
- Keep the door open while removing old knob and latch.
- Install latch with bevel facing the closing direction per kit instructions.
- Fit knob halves and tighten evenly.
- Test latch with door open before gently testing closed.
Safety: Special, fire-rated or access-control doors may need listed compatible hardware. Never force a binding latch.
Cabinets · Beginner
Install Cabinet Pulls
Use a repeatable layout so handles line up.
Materials
- Cabinet pulls
- Correct screw length
- Optional filler/finish for old holes
Tools
- Tape measure and level
- Pencil and hardware template
- Drill/driver and painter’s tape
How to
- Choose a consistent reference edge and placement.
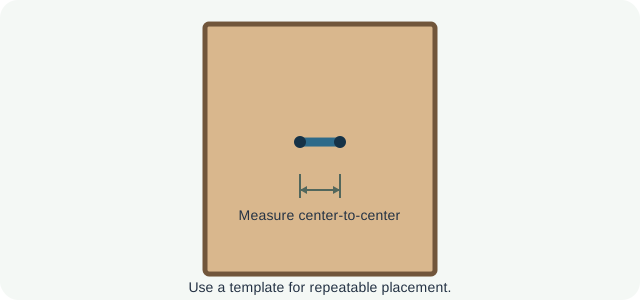
- Confirm actual center-to-center spacing of the pull.
- Use tape and a template to mark drilling points.
- Check the back side and drill perpendicular with a suitable bit.
- Install compatible screws without crushing the finish.
Safety: Screws that are too long can damage drawer interiors. Protect finished surfaces from drill breakout and metal chips.
Bathroom · Beginner
Install a Toilet Paper Holder
Choose a usable location and secure the plate.
Materials
- Toilet paper holder kit
- Fasteners suitable for wall substrate
- Rated anchors if appropriate
Tools
- Tape measure and level
- Pencil and stud finder
- Drill/driver and screwdriver
How to
- Choose a comfortable reach location with clearance.
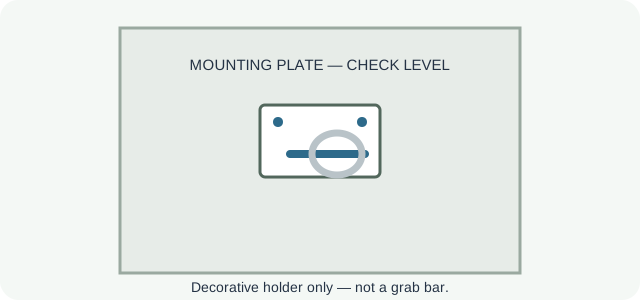
- Use supplied template or measure the plate; mark level.
- Check studs and concealed services; choose suitable fasteners.
- Drill pilot holes and install compatible anchors if needed.
- Attach holder and confirm easy roll replacement.
Safety: A paper holder is not a grab bar and must never support body weight. Use the correct method for tile; stop if tile cracks or the substrate is soft.
Landscaping · Beginner
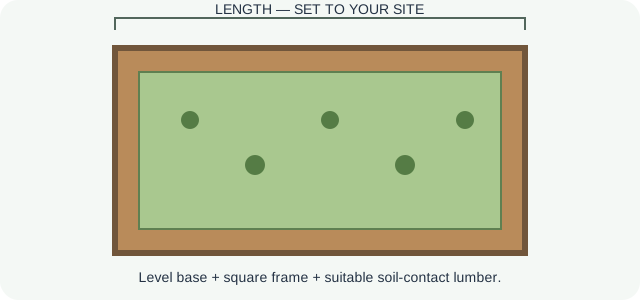
Build a Small Raised Garden Bed
Square the frame, check drainage, then fill.
Materials
- Garden-bed lumber intended for soil contact
- Exterior-rated compatible screws
- Suitable topsoil and compost
Tools
- Tape measure and square
- Saw or pre-cut lumber
- Drill/driver and level
- Shovel, gloves and safety glasses
How to
- Choose a level site; check sunlight, drainage and access.
- Lay out the frame and cut lumber square; dry-fit corners.
- Assemble with compatible exterior-rated fasteners; compare diagonals.
- Set frame in place and level it before filling.
- Add suitable growing medium, water in and monitor settling.
Safety: Contact the local utility-marking service before digging/staking. Use lumber intended for garden/soil contact for edible beds. A raised bed is not a retaining wall.
Wall hardware · Beginner
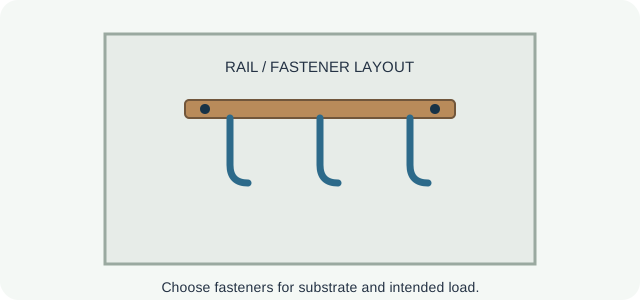
Install Wall Hooks or a Hook Rail
Choose fasteners for the actual load and substrate.
Materials
- Hook or hook rail rated for intended load
- Compatible screws and anchors
Tools
- Tape measure and level
- Pencil and stud finder
- Drill/driver and screwdriver
How to
- Check intended load and product rating.
- Lay out hook positions; level a multi-hook rail.
- Locate studs or identify wall material and choose rated fasteners.
- Drill correctly sized pilot holes and fasten without stripping.
- Test gently with a light load and stay within the rating.
Safety: Never use hooks for climbing, fall arrest or body support. Stop if the wall is wet, crumbly or damaged.
All sketches are conceptual and not to scale. Verify actual measurements, wall construction, product compatibility, fastener ratings, and manufacturer instructions.